Pre-flight Check
Before diving in the deep end (and subsequently drowning), I decided I first ought to formulate a game plan:
- What are my goals?
- What are my requirements?
- What are the threats?
- How can I meet my goals and requirements while mitigating threats?
1. Goals
As I mentioned in part 0, I want to use the homelab for learning, but learn what exactly? That’s still an open question for myself — I find that the more I learn, the less I know (and thus the more there is to learn) — so I expect new topics to come and go. To start, I want to gain a practical understanding of the theory I learned in networking and security courses; such as firewalls, IDSs, VPNs, and cryptography.
In part 0, I also mentioned a number of services that I want to self-host. Naturally, my goal is to successfully self-host those services and more.
2. Requirements
Here, I define a few self-imposed requirements:
- All services must be run as containers
- Root access must be minimal
- Free and open-source software must be used wherever possible
3. Threats
Since this is a homelab and is therefore confined to my home network, the greatest threat is myself. Even so, and even if only for good practice, I plan to treat it as if much greater threats than myself are looming.
That being said, I will eventually want/need to access my home network remotely, which opens the door to new threats. I intend to mitigate these potential threats by only opening up the network via a VPN.
Another thing to consider, specifically when working with containers, are some of their attack vectors:
| Vector | Mitigation |
|---|---|
| Resource abuse | Configure resource limits for all containers |
| Image vulnerabilities | Regularly update and rebuild images for latest security patches |
| Container escape | Minimize root access, limit mounts |
4. How
Containers
Containers are great for a number of reasons: they’re lightweight, isolatable, consistent, and portable.
The most popular container engine is Docker. I’ve used Docker on and off for the past couple of years, and it’s been an alright experience overall. Docker, however, has a problem at its roots; actually, the problem is that it relies on root. The Docker daemon and its reliance on root privileges made things difficult at times.
Although Docker popularized containers, it isn’t the only option on the market. Podman, for example, is a daemonless container engine that runs rootless containers. This is what I’ll be using for running services on my homelab.
Administration
In searching for administrative tools that would make my life easier, I discovered Cockpit. It checks all the boxes for me: it’s FOSS, lightweight, extendable, comprehensive, and easy to use. Extensibility is key; Cockpit provides a number of applications to integrate management tools for various things, such as storage, networking, VMs, Podman containers, etc. One of the most helpful for me is the Podman app, making it easy to spin up pods and containers directly from the Cockpit GUI.
Cockpit
Installation
Since I’m using Debian, I followed the installation instructions here. At the time of writing, the installation is as follows:
. /etc/os-release
echo "deb http://deb.debian.org/debian ${VERSION_CODENAME}-backports main" > \
    /etc/apt/sources.list.d/backports.list
apt update
apt install -t ${VERSION_CODENAME}-backports cockpit
Note
I had issues installing the
...-backportsas described above, so I omitted them (i.e.apt installedcockpit)
I also installed some extensions that I thought might come in handy (including Podman):
apt install cockpit-storaged cockpit-networkmanager cockpit-podmanEntering the Cockpit
Info
Contrary to many tutorials’ suggestions that Cockpit must be started using
systemctl start --now cockpit, Cockpit will start on demand (as below)
Cockpit will start on demand when a browser accesses localhost:9090 (or whichever port it is configured to use). This should produce the following login page:
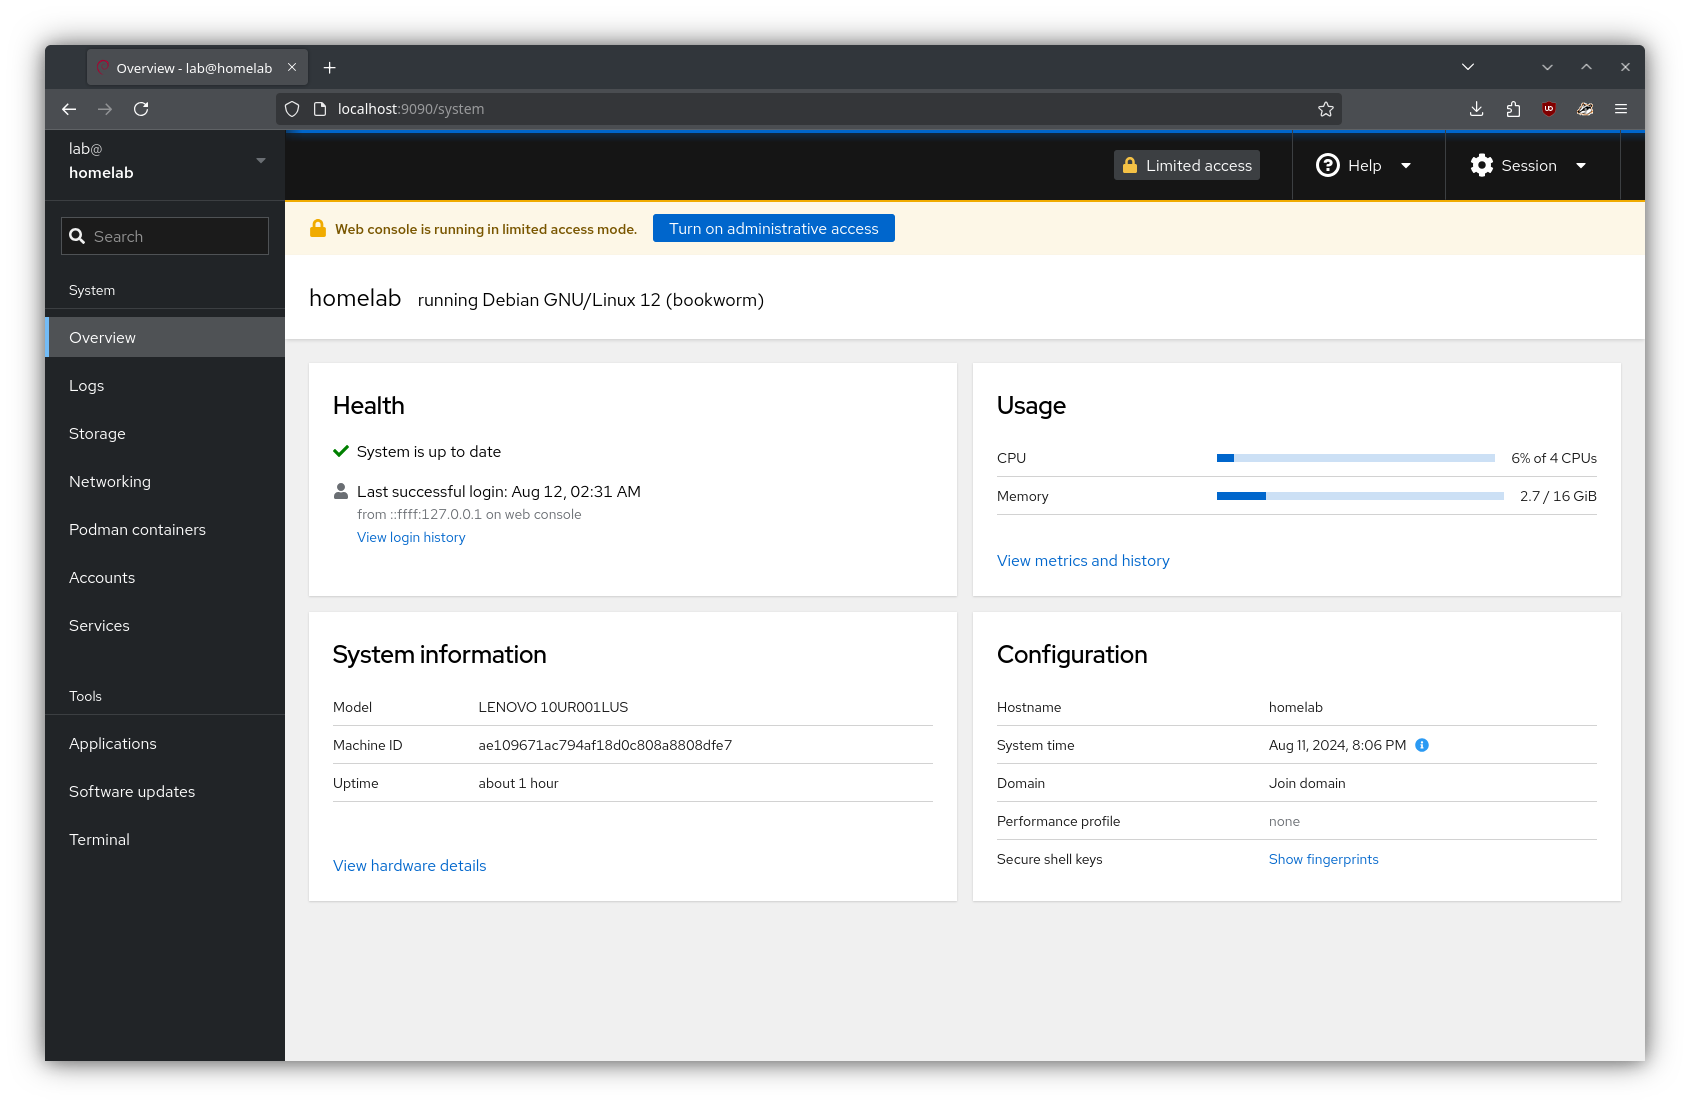
 Cockpit uses the system’s normal user login. After logging in, the user is greeted with the dashboard:
 With that, the server should be ready to do some serving!